Understanding the Moka Pot
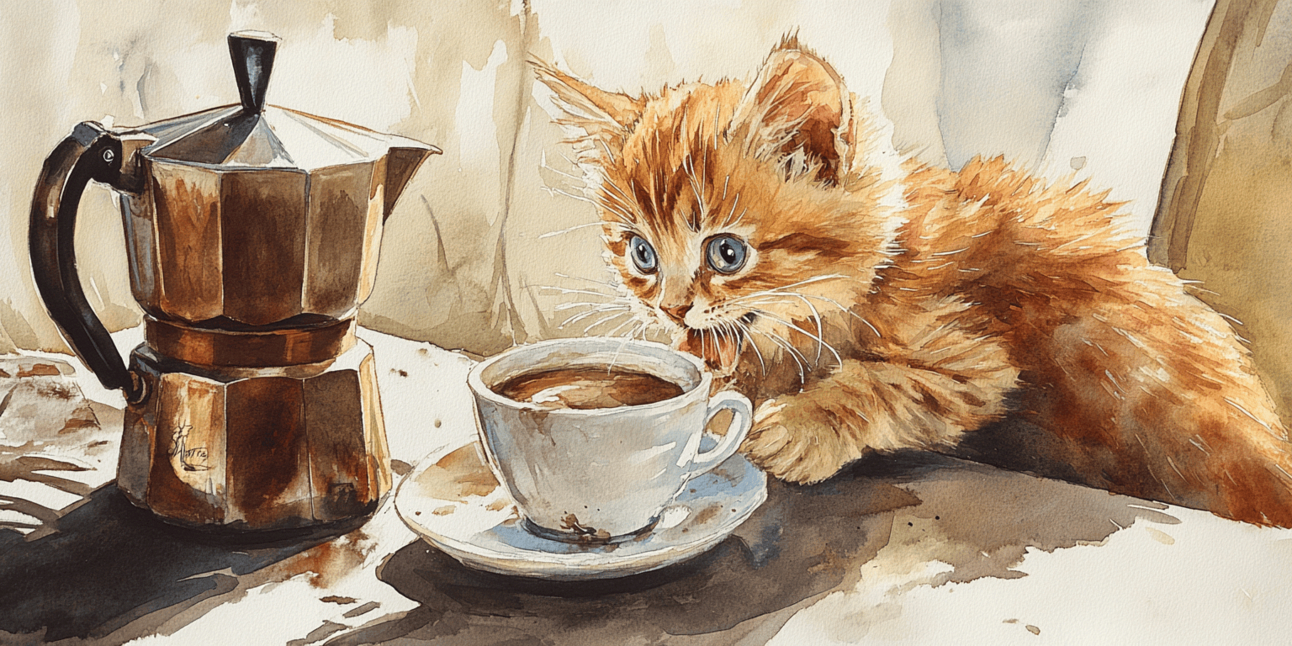
Moka pot is probably the best brewer to impress your parents and justify your coffee equipment purchase. Most Indians are into milk based coffees and Moka is just perfectly positioned to enhance a milk coffee.
With this ~1000 INR priced brewer which operates on a stovetop, you can make multiple types of coffee – a near espresso style drink, a americano style drink and a regular milk based coffee like cortado or a cappuccino.
For time to time, I enjoy a strong bold jolt of coffee that I can brew from the Moka.
A lot of people call it a stove top Espresso Maker. But it is technically not an espresso. It might have the same strength of the coffee but it is extracted at a way low, under 2 bars of pressure, compared to espresso which is 9 bars.
While brewing with this is easy enough, I used to make a mess and didn't like what it was producing. I definitely knew it was skill issue and researched a bit about it, leading me to enjoy this drink.
I will leave you with the tricks and tips so you can build on top of my mistakes when you start.
How it works brews
Like espresso, a mokapot uses pressure to drive water through coffee and extract. It's quite fascinating actually.

Parts of the Moka pot
We put water in the below chamber, coffee in the funnel which is ground fairly fine but not espresso grind, screw the whole thing together and put it on a stove top.
The heat makes the water boil and slowly it starts to turn into vapour. Because the system is completely locked, there is nowhere for the vapour to go. So it pushes this water which is getting hot and makes spaces for itself. Where would the water go? Only way it has is to raise up through the coffee, in the funnel.

How water flows.
And that's how, my friend, you get a beautiful cup of coffee brewed with the Mokapot.
You can treat this as the base coffee for a lot of drinks you can make. Hot water makes it Americano. Adding milk is a great option. You can even drink it straight if you enjoy a bitter jolt.
Best part is that you can mixers, like sparkling water or orange juice or tonic water or ginger ale. It becomes a beautiful refreshing summer drink. This coffee has the right concentration to be mixed with these things.
If you remember, I told you I wasn’t getting satisfactory cups in the beginning.
Things that have fixed the taste for me
First is to not let it sputter. After the coffee is almost done extracting, it starts sputtering. We should immediately remove from the stove top and maybe run it through cold water to let it cool. Whatever comes after this phase is not tasty.
The goal should be to get most of the water through the coffee grounds before it starts to sputter.
This gets me to my second point which is to start with boiling water. The main advantage of this is that it takes less time to brew. And the brewing starts at a good temperature (around 90C). If you take room temperature water, water that gets pushed through the coffee is not yet at optimal temperature, and you get an under extracted feel. This alone got a substantial improvement in the taste.
Below are a few optional ones that you don't really have to do but if done, the taste and feel is slightly improved.
If your grind has many fines, there is a possibility that they end up in your cup. The last sip with coffee grounds is not a good experience. What helps here is an Aeropress paper filter. Yes, you heard it right.

Aeropress filter on the moka pot upper chamber
You put an Aeropress filter on the upper chamber and wet it a little bit so that it sticks there until you screw this to the lower chamber.
This not only helps in filtering out the fines but also improves the taste by preserving some acidity of the coffee.
I hope these tips and tricks help you as well in your Moka journey.
That’s all I have. Have a caffeinated weekend.
See you.
Keep on brewing!